
Installing a motherboard can seem like a daunting task, especially if you’re building a PC for the first time. However, with the right tools and a step-by-step guide, you can accomplish this with ease. This comprehensive guide will walk you through the process of installing a motherboard, from preparation to final checks.
Tools and Materials Needed
- Screwdriver set
- Anti-static wrist strap
- Thermal paste
- Clean workspace
- Motherboard manual
Preparation
Before you begin, ensure that you have all the components and tools ready. An organized and clean workspace can make the process smoother and help avoid misplaced screws or components.
1. Unboxing the Motherboard
Carefully unbox your motherboard and place it on a non-static surface. Refer to the manual to get familiar with its layout and connections.
2. Ground Yourself
Static electricity can damage your motherboard. Wear an anti-static wrist strap and ground yourself by touching an unpainted metal surface.
3. Prepare the Case
Remove the side panels of your PC case. If you have any old components, remove them to have a clear workspace.
Installing the Motherboard
4. Install the I/O Shield
The I/O shield is a small metal panel that goes into the back of your case. Align it correctly and snap it into place from inside the case.
5. Position the Standoffs
Standoffs are small mounts that keep the motherboard elevated and prevent contact with the case. Position them as per your motherboard layout, which can be found in the manual.
6. Install the CPU and RAM
It is easier to install the CPU and RAM before placing the motherboard inside the case. Follow the instructions in your motherboard manual for installing the CPU, applying thermal paste, and seating the RAM sticks.
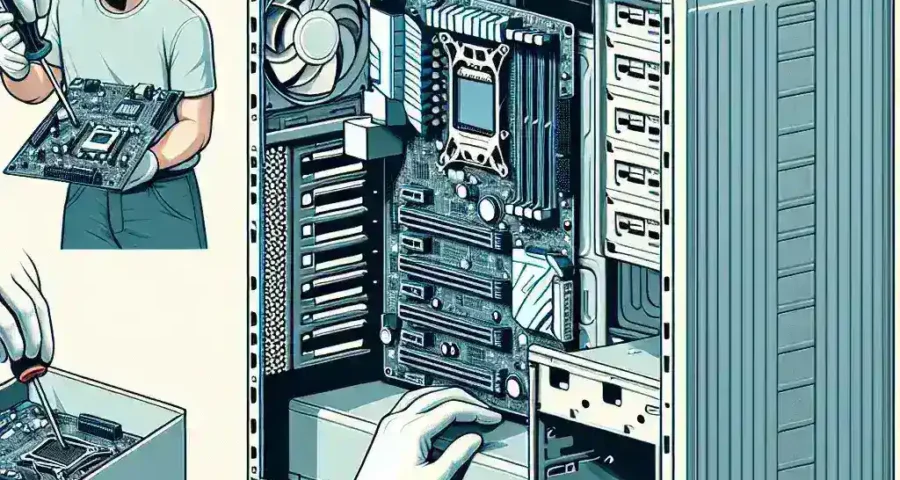
7. Place the Motherboard
Align the motherboard with the I/O shield and standoffs. Lower it gently into place.
8. Secure the Motherboard
Using the screws provided, secure the motherboard to the standoffs. Tighten the screws in a crisscross pattern to distribute pressure evenly.
9. Connect Power Cables
Connect the 24-pin main power connector and the 8-pin CPU power connector to the motherboard. Make sure the connections are secure.
10. Connect Front Panel Connectors
Refer to your motherboard manual to connect the front panel connectors for the power button, reset button, and LEDs.
11. Install Additional Components
Install any additional components like graphics cards, SSDs, or network cards. Secure them with screws if needed.
Final Checks
12. Double-Check Connections
Ensure all connections are secure and there are no loose components.
13. Close the Case
Reattach the side panels of your case.
14. Power On
Connect your PC to a power outlet and power it on. Enter the BIOS to verify that all components are detected.
If everything is functioning correctly, you have successfully installed your motherboard! Enjoy your newly-built or upgraded PC.
Troubleshooting Tips
If you encounter any issues:
- Double-check all connections
- Ensure the components are properly seated
- Refer to the motherboard manual for troubleshooting steps
- Consult online forums or reach out to customer support
Leave a Reply